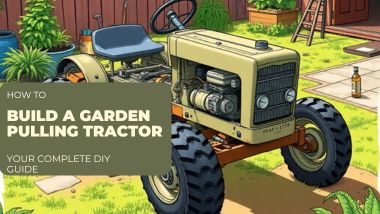
Have you ever wished for a powerful ally in your gardening endeavors? Building your own garden pulling tractor can transform your gardening tasks, making them faster and more efficient.
In this complete DIY guide on how to build a garden pulling tractor, we’ll walk you through everything you need to know, from planning and materials to the step-by-step construction process. Let’s get started!
The Basics You Need to Know
Before diving into the hands-on process of building your garden pulling tractor, it’s essential to understand some foundational aspects that will guide your project.
Whether you’re an experienced DIY enthusiast or new to this type of endeavor, knowing the key components and benefits can help you make informed decisions throughout the construction.
In this section, we’ll cover the essentials to help you grasp the purpose of a garden pulling tractor, why it’s worth building one yourself, and how this project can simplify and elevate your gardening experience.
With this knowledge in hand, you’ll be better prepared to approach the detailed steps of building your tractor.
What is a Garden Pulling Tractor?
A garden pulling tractor is a small yet powerful machine designed for various tasks around the garden, such as plowing, towing, and cultivating.
Unlike traditional lawn mowers, garden pulling tractors can pull heavy loads, making them invaluable for larger gardening projects or landscaping tasks.
Check out our guide to top landscaping tips for homeowners to ensure your garden setup is optimized for your new machine.
Benefits of Building Your Own Garden Pulling Tractor
Creating your own garden pulling tractor comes with several advantages:
- Cost Savings: Buying a ready-made tractor can be expensive. Building your own allows you to save money while customizing the tractor to your specific needs.
- Customization Options: You can tailor the design and features to suit your gardening tasks, ensuring optimal performance.
- Satisfaction of DIY Projects: There’s immense satisfaction in constructing something with your own hands, especially when it helps in your gardening efforts.
Planning Your Garden Pulling Tractor
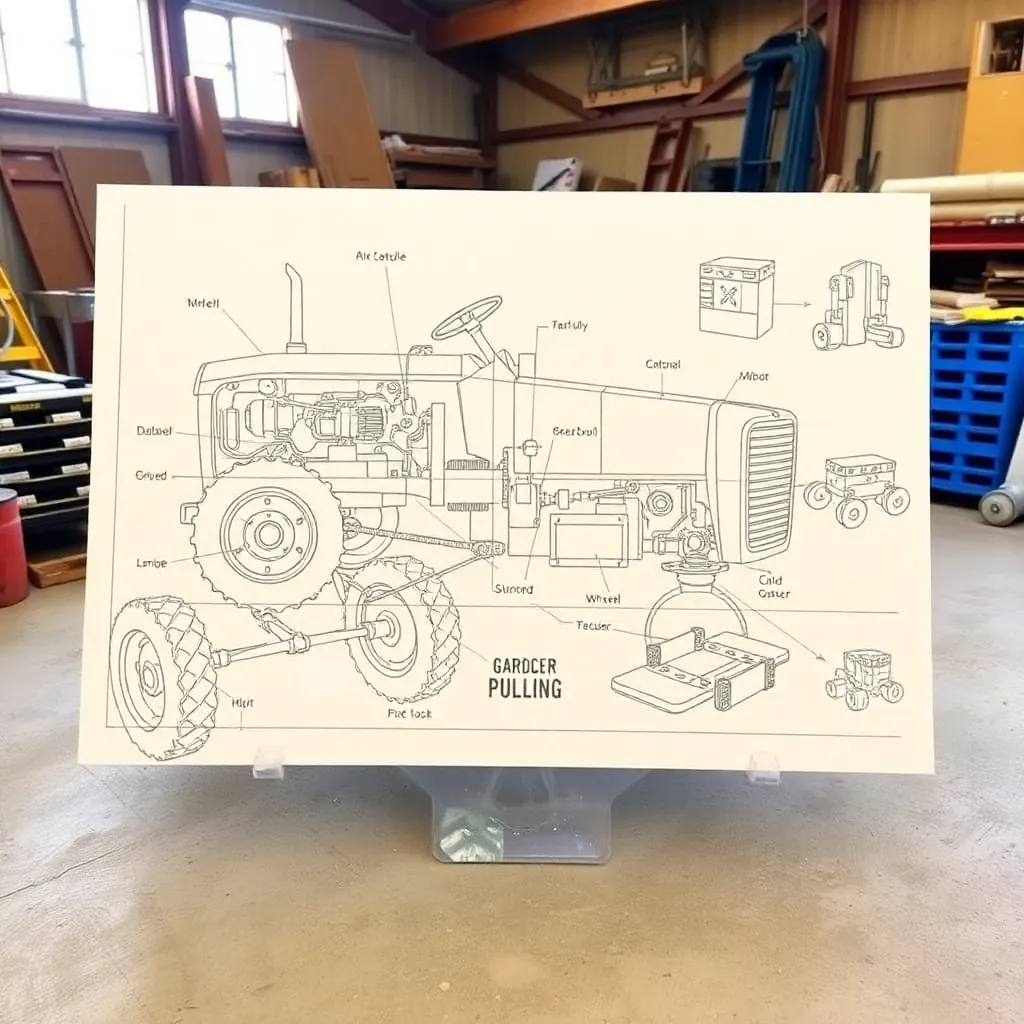
Before diving into construction, careful planning is essential to ensure that your garden pulling tractor meets your specific needs and goals.
A well-thought-out plan helps you choose the right materials, dimensions, and features that will make your tractor both functional and efficient. From selecting the chassis to determining the power source, each decision plays a critical role in the tractor’s overall performance.
This section will guide you through the key aspects of planning your garden pulling tractor, helping you create a design that aligns with your gardening tasks and preferences.
Materials Needed
Before diving into construction, gather the necessary materials. Here’s a list of essential items you’ll need to build a garden pulling tractor:
- Chassis: A sturdy frame is crucial for stability and durability.
- Wheels: Choose durable wheels that can handle the weight and terrain of your garden.
- Engine: Select an engine powerful enough to perform the tasks you need, such as a small gas engine or electric motor.
- Steering Mechanism: You’ll need a simple steering system for maneuverability.
- Controls: Throttle and brake controls are essential for safe operation.
Designing Your Tractor
Sketching out a design is a vital step in how to build a garden pulling tractor. Consider these key factors:
- Size: Ensure the dimensions fit your gardening needs and storage space.
- Weight Capacity: Calculate how much weight the tractor needs to pull, including attachments you may use.
- Functionality: Decide if you want additional features like a plow or trailer hitch.
Step-by-Step Construction Process
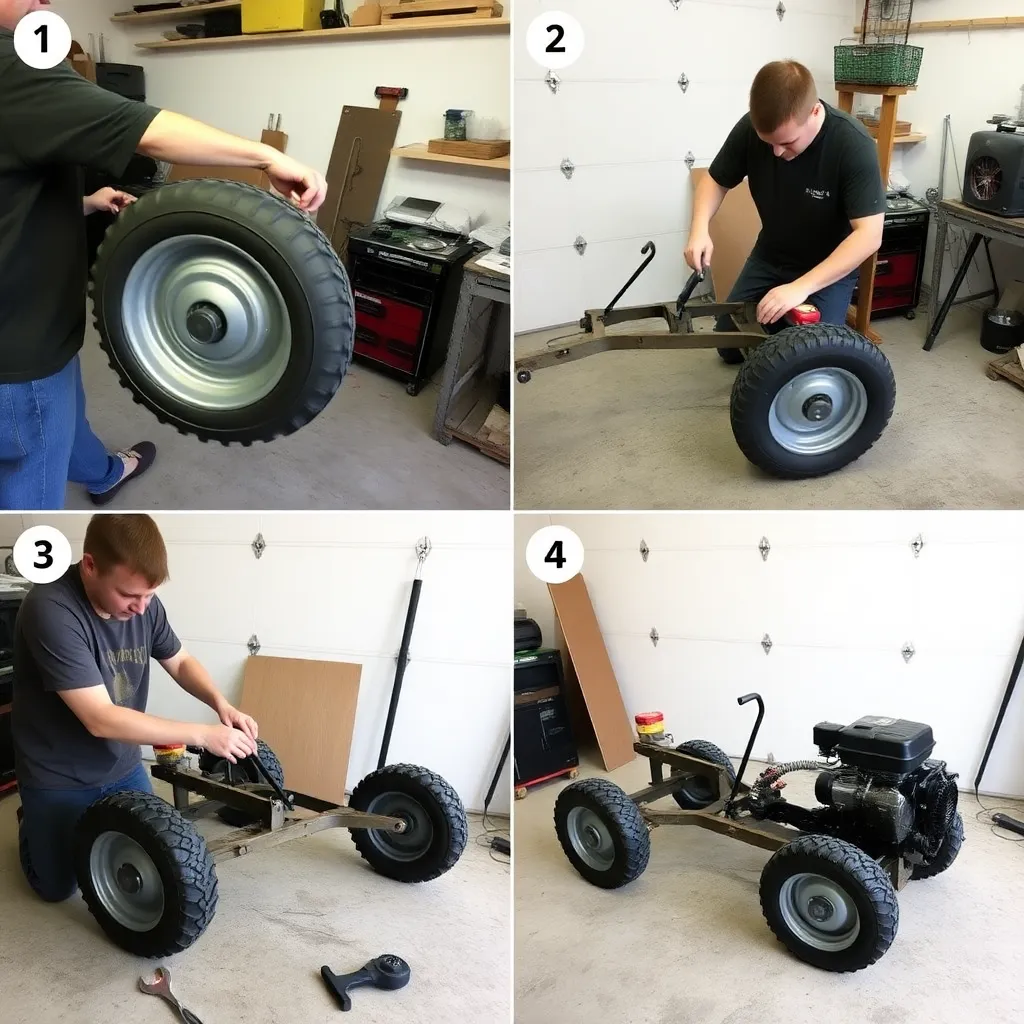
Now that you’re ready, let’s get into the step-by-step process of how to build a garden pulling tractor.
Step 1: Preparing the Chassis
- Selecting the Frame: Choose a robust frame material like steel or aluminum for strength.
- Assembling the Base: Cut the frame to your design specifications and weld or bolt the pieces together to form a stable base.
Step 2: Attaching the Wheels
- Choosing Appropriate Wheels: Select wheels that are strong and suitable for your garden terrain. Larger wheels will provide better traction.
- Mounting Wheels Securely: Attach the wheels to the chassis, ensuring they are properly aligned and securely fastened for stability.
Step 3: Installing the Engine
- Selecting the Right Engine Type: Opt for a small gas engine or electric motor that meets your power needs.
- Engine Installation and Mounting Tips: Secure the engine to the chassis, ensuring it’s positioned for optimal balance and accessibility for maintenance.
Step 4: Adding Controls and Steering
- Installing the Steering Mechanism: Set up a simple steering system that connects the front wheels to the steering column for easy maneuverability.
- Setting Up Throttle and Brake Controls: Install the throttle and brake controls within easy reach for safe operation.
Step 5: Finishing Touches
- Painting and Finishing the Tractor: Add a coat of paint to protect against the elements and give your tractor a polished look.
- Safety Checks and Adjustments: Inspect all components, tightening any loose parts, and ensuring everything is functioning correctly.
…be sure to consider the costs associated with your build.
In addition to the steps outlined in this guide, you can check out the YouTube video titled ‘Garden Tractor Pulling for Beginners: Cost Breakdown’ for a detailed analysis of the costs involved in building and using a garden pulling tractor.
This video provides valuable insights for those looking to embark on this DIY project.
Testing Your Garden Pulling Tractor
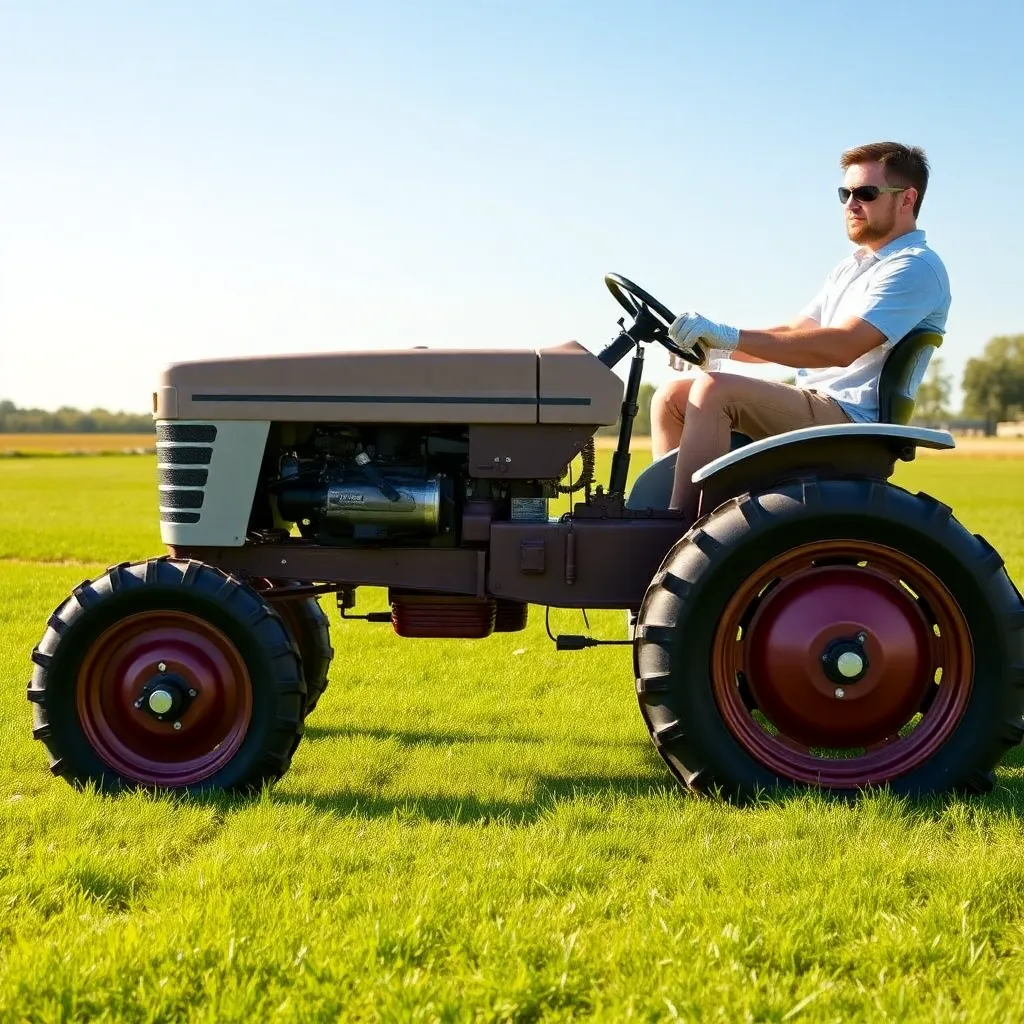
Once you’ve completed the construction of your garden pulling tractor, it’s crucial to conduct thorough testing to ensure that everything functions as intended.
This phase is not just about checking the engine; it involves evaluating the overall performance, stability, and safety of your newly built machine. Proper testing can help you identify any potential issues before you take your tractor out for a real workload in the garden.
In this section, we will cover the essential steps for conducting a test run, evaluating performance, and troubleshooting common problems that may arise.
Conducting a Test Run
Once your garden pulling tractor is assembled, it’s time for a test run. Before you start, keep these safety precautions in mind:
- Wear safety gear, including gloves and goggles.
- Test the tractor in a clear, flat area to monitor its performance.
Evaluating Performance and Handling
Observe how your tractor performs, checking for any issues with speed, handling, or power. Make any necessary adjustments to improve functionality.
Troubleshooting Common Issues
If you encounter problems, troubleshoot common issues such as:
- Engine Performance: Ensure the engine is properly fueled and maintained.
- Steering Issues: Check for any misalignment in the steering mechanism.
Maintenance and Upgrades

Once your garden pulling tractor is built and tested, the journey doesn’t end there. Regular maintenance is vital to keeping your tractor in optimal condition and extending its lifespan.
Additionally, as your gardening needs evolve, you may find opportunities to enhance your tractor’s capabilities through upgrades.
In this section, we will discuss essential maintenance tips to keep your tractor running smoothly and explore potential upgrades that can enhance its performance and functionality, ensuring it remains a valuable asset in your gardening toolkit.
Routine Maintenance Tips
To keep your garden pulling tractor in optimal condition, perform regular maintenance:
- Check oil levels and change them as needed.
- Inspect the wheels and chassis for wear and tear.
- Clean the engine to prevent debris buildup.
Potential Upgrades
Consider upgrading your tractor for enhanced performance:
- Adding Attachments: Explore options like a plow, cultivator, or trailer for increased functionality.
- Enhancing Performance: Upgrade the engine or wheels for better power and efficiency.
Conclusion
Building your own garden pulling tractor is a rewarding project that can significantly enhance your gardening experience.
By following this DIY guide on how to build a garden pulling tractor, you’ll have a powerful tool at your disposal for tackling a variety of tasks around your yard.
Now that you know the process, it’s time to roll up your sleeves and get started! Share your experiences and tips in the comments below, and don’t forget to check out our related articles for more gardening and DIY inspiration.

