Ever had your hands wrapped around a stubborn hose connector attached to the tap, refusing to budge? There is just something frustrating about trying to unfasten one of those slippery devils. But hey, don’t sweat it – no pun intended – because dislodging that garden nemesis can be as smooth as butter with some handy tips and tricks up your sleeve.
Let’s face it; a stuck hose connector can put quite a damper on our day. We’re ready for watering plants or having splashy fun in the backyard when suddenly – BAM! The water obstinately stays where it is. As annoying as this scenario might sound, I assure you it’s not an unsolvable puzzle.
So buckle up folks! Get ready to dive deep into the world of taps and hoses where things are about to get thrillingly technical. Your journey towards becoming the ultimate garden plumber begins right here…so hold onto your seats because competence awaits just around the corner. Let’s dive right into the first step in figuring out how to remove hose connector from taps…
Determining the Type of Hose Connector
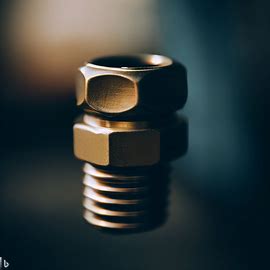
When it comes to removing a hose connector from a tap, the first step is determining what type of connector you are dealing with.
There are various types available in the market, including threaded connectors and quick-connect adapters.
Understanding the specific type will help you choose the right tools and approach for disconnecting it.
Shutting Off the Water Supply
Before attempting to remove the hose connector, it’s crucial to turn off the water supply. This prevents any accidental leaks or sprays that may occur during disconnection.
Locate your main water valve and shut it off by turning it clockwise until it stops completely.
Proper Positioning for Removal
To facilitate easy removal, position yourself comfortably next to the tap where you can have ample access to both the connector and any necessary tools.
Ensure that there is enough space around you so that you can maneuver without restrictions.
Applying Appropriate Tools for Different Connectors
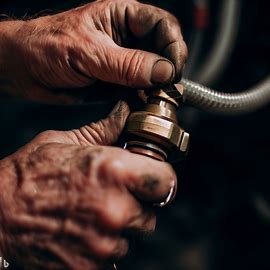
Depending on whether your hose connector is threaded or quick-connect style, different tools may be required for removal. For threaded connectors, use an adjustable wrench or pliers specifically designed for plumbing tasks. If you have a quick-connect adapter, look for release buttons or locking mechanisms that need to be disengaged before removal.
For added convenience and ease of use, specialized tools like hose clamp pliers can also be used when detaching certain types of connectors. These tools give better grip and leverage during disconnection.
Remember always to consult your specific product manual if available as some connectors might require their own specialized tool sets or techniques.
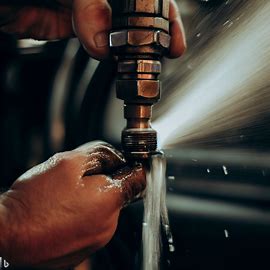
Executing Safely and Carefully to Prevent Damage
When removing a hose connector from your tap, take care not to exert excessive force or torque. Applying too much pressure can lead to damage, such as stripped threads or cracked fittings.
If you encounter resistance while attempting to remove the connector, try gently wiggling it back and forth instead of forcing it straight off. This can help loosen any stuck elements and make removal easier.
Cleaning and Preparing Tap for New Connector
After successfully removing the old hose connector, take a moment to clean the tap area thoroughly.
Use a soft cloth or sponge with mild soap and warm water to remove any residue or debris that may have accumulated over time.
Inspect the tap threads for any signs of wear or damage. If necessary, use a wire brush to clean them carefully without causing further harm.
This ensures proper sealing when installing a new hose connector.
Steps in Installing a New Hose Connector
Now that you’ve successfully removed the old hose connector from your tap, it’s time to install a new one:
1. Choose an appropriate hose connector based on your needs and preferences.
Consider factors like materials used (plastic vs. metal) and compatibility with your specific watering system.
2. Apply a plumber’s tape (also known as thread seal tape) around the threaded end of your new hose connector.
Wrapping this tape clockwise around the thread will create an effective watertight seal when connected.
3. Align and screw the new hose connector onto your tap until hand-tightened.
Take care not to overtighten as this can cause damage similar to what was mentioned earlier during removal.
4. Make sure there are no leaks by turning on the water supply gradually at first while keeping an eye out for any drips or sprays near the connection point.
– If leaks occur, turn off immediately, reposition/tighten if needed before trying again
5. Once confident in a leak-free connection, test the water flow through your new hose connector.
If you’re satisfied with the results, it means you’ve successfully installed a new hose connector.
Remember to periodically inspect and clean your hose connectors to ensure optimal performance and longevity. Regular maintenance can help prevent future difficulties during removal or installation.
Conclusion
Removing a hose connector from a tap doesn’t have to be a complicated task. By following these easy steps and taking necessary precautions, you can disconnect old connectors safely while preparing for the installation of new ones.
Take your time, choose the right tools, and enjoy hassle-free gardening with well-functioning hose connections.